Bratski Keyboard
Bratski Keyboard is the first keyboard PCB I ever designed and marks the beginning of my hardware design journey. It was built as a personal project for a close friend and holds special importance as my first fully working custom PCB.
More than the final product, this project was about learning the fundamentals: schematic capture, footprints, PCB layout, and working with a PCB manufacturer.
Inspiration
Before this project, my background was primarily software-oriented. After buying my first 3D printer, I spent a lot of time printing enclosures and experimenting with single-board computers.
That naturally led to a desire to go further — instead of adapting electronics to enclosures, I wanted to design the electronics themselves.
While exploring tutorials and documentation, custom keyboards stood out as an ideal first hardware project:
- clear functional requirements
- manageable complexity
- strong open-source ecosystem
- immediate feedback when something works (or doesn’t)
Design guidelines and hardware choices
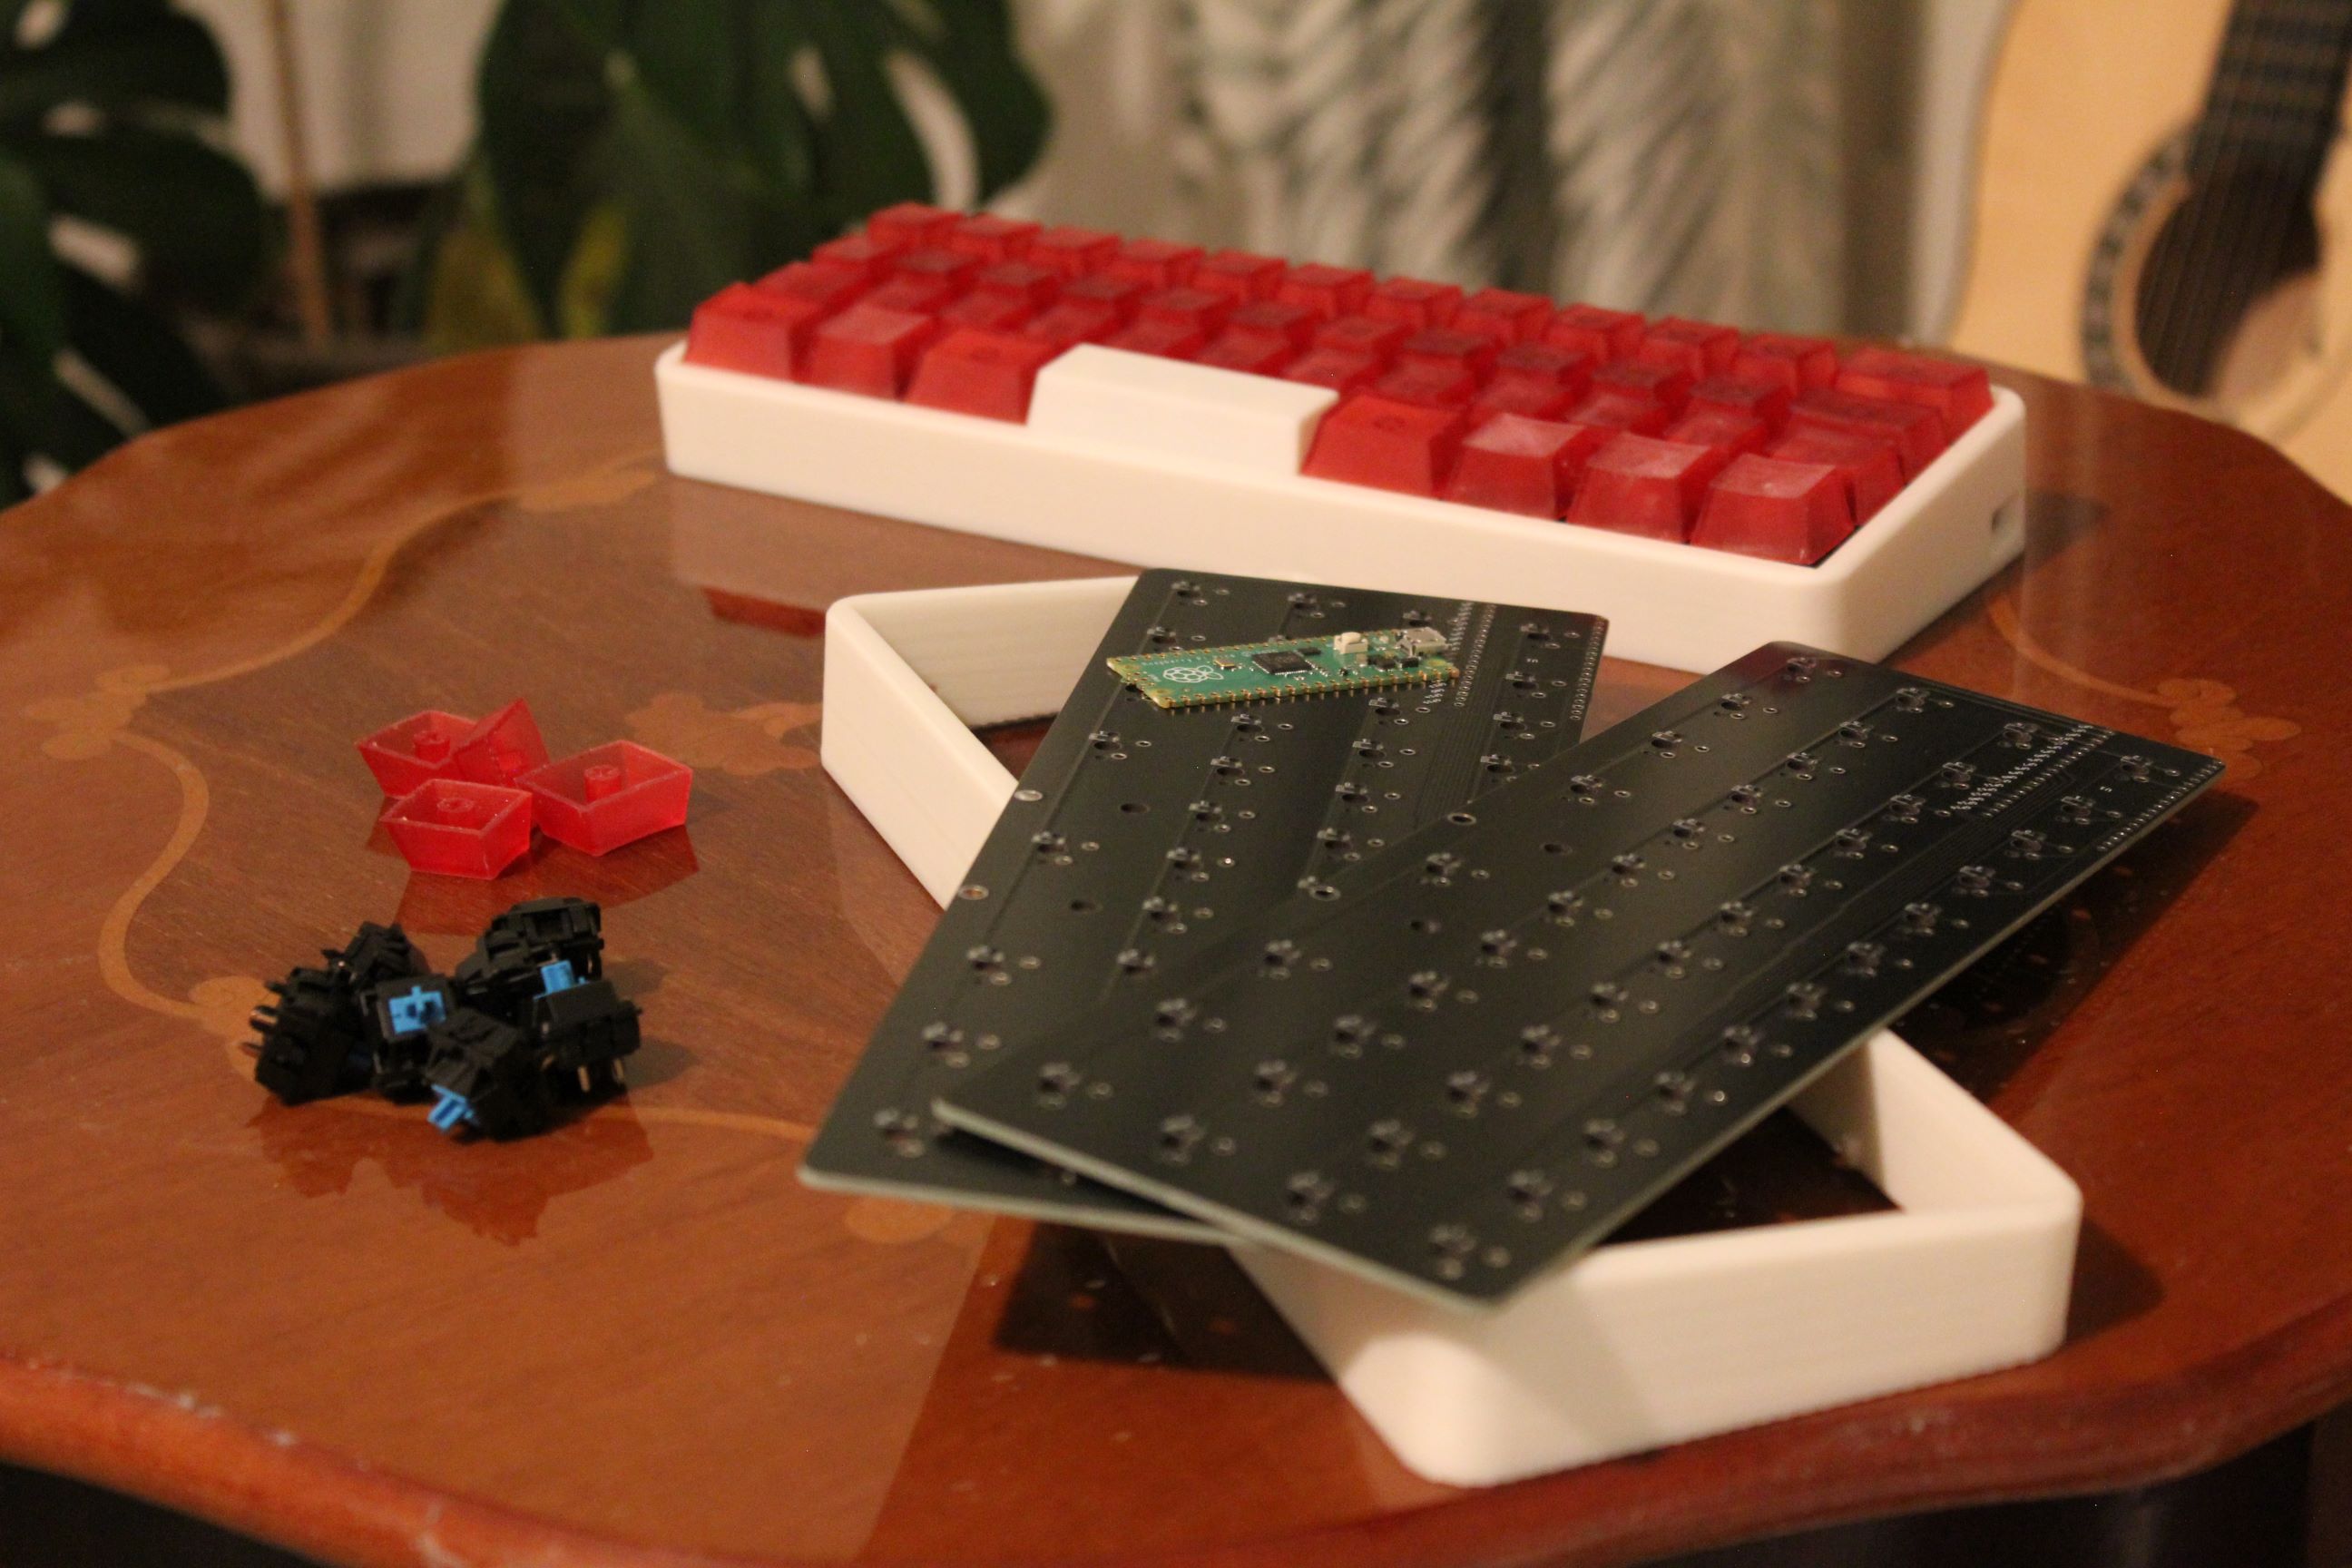
The keyboard is built around a Raspberry Pi Pico, based on the RP2040 microcontroller. Using a microcontroller module instead of a bare MCU significantly reduced risk for a first project.
Key design decisions:
- Raspberry Pi Pico for simplicity and easy bring-up
- MX-compatible switch footprints
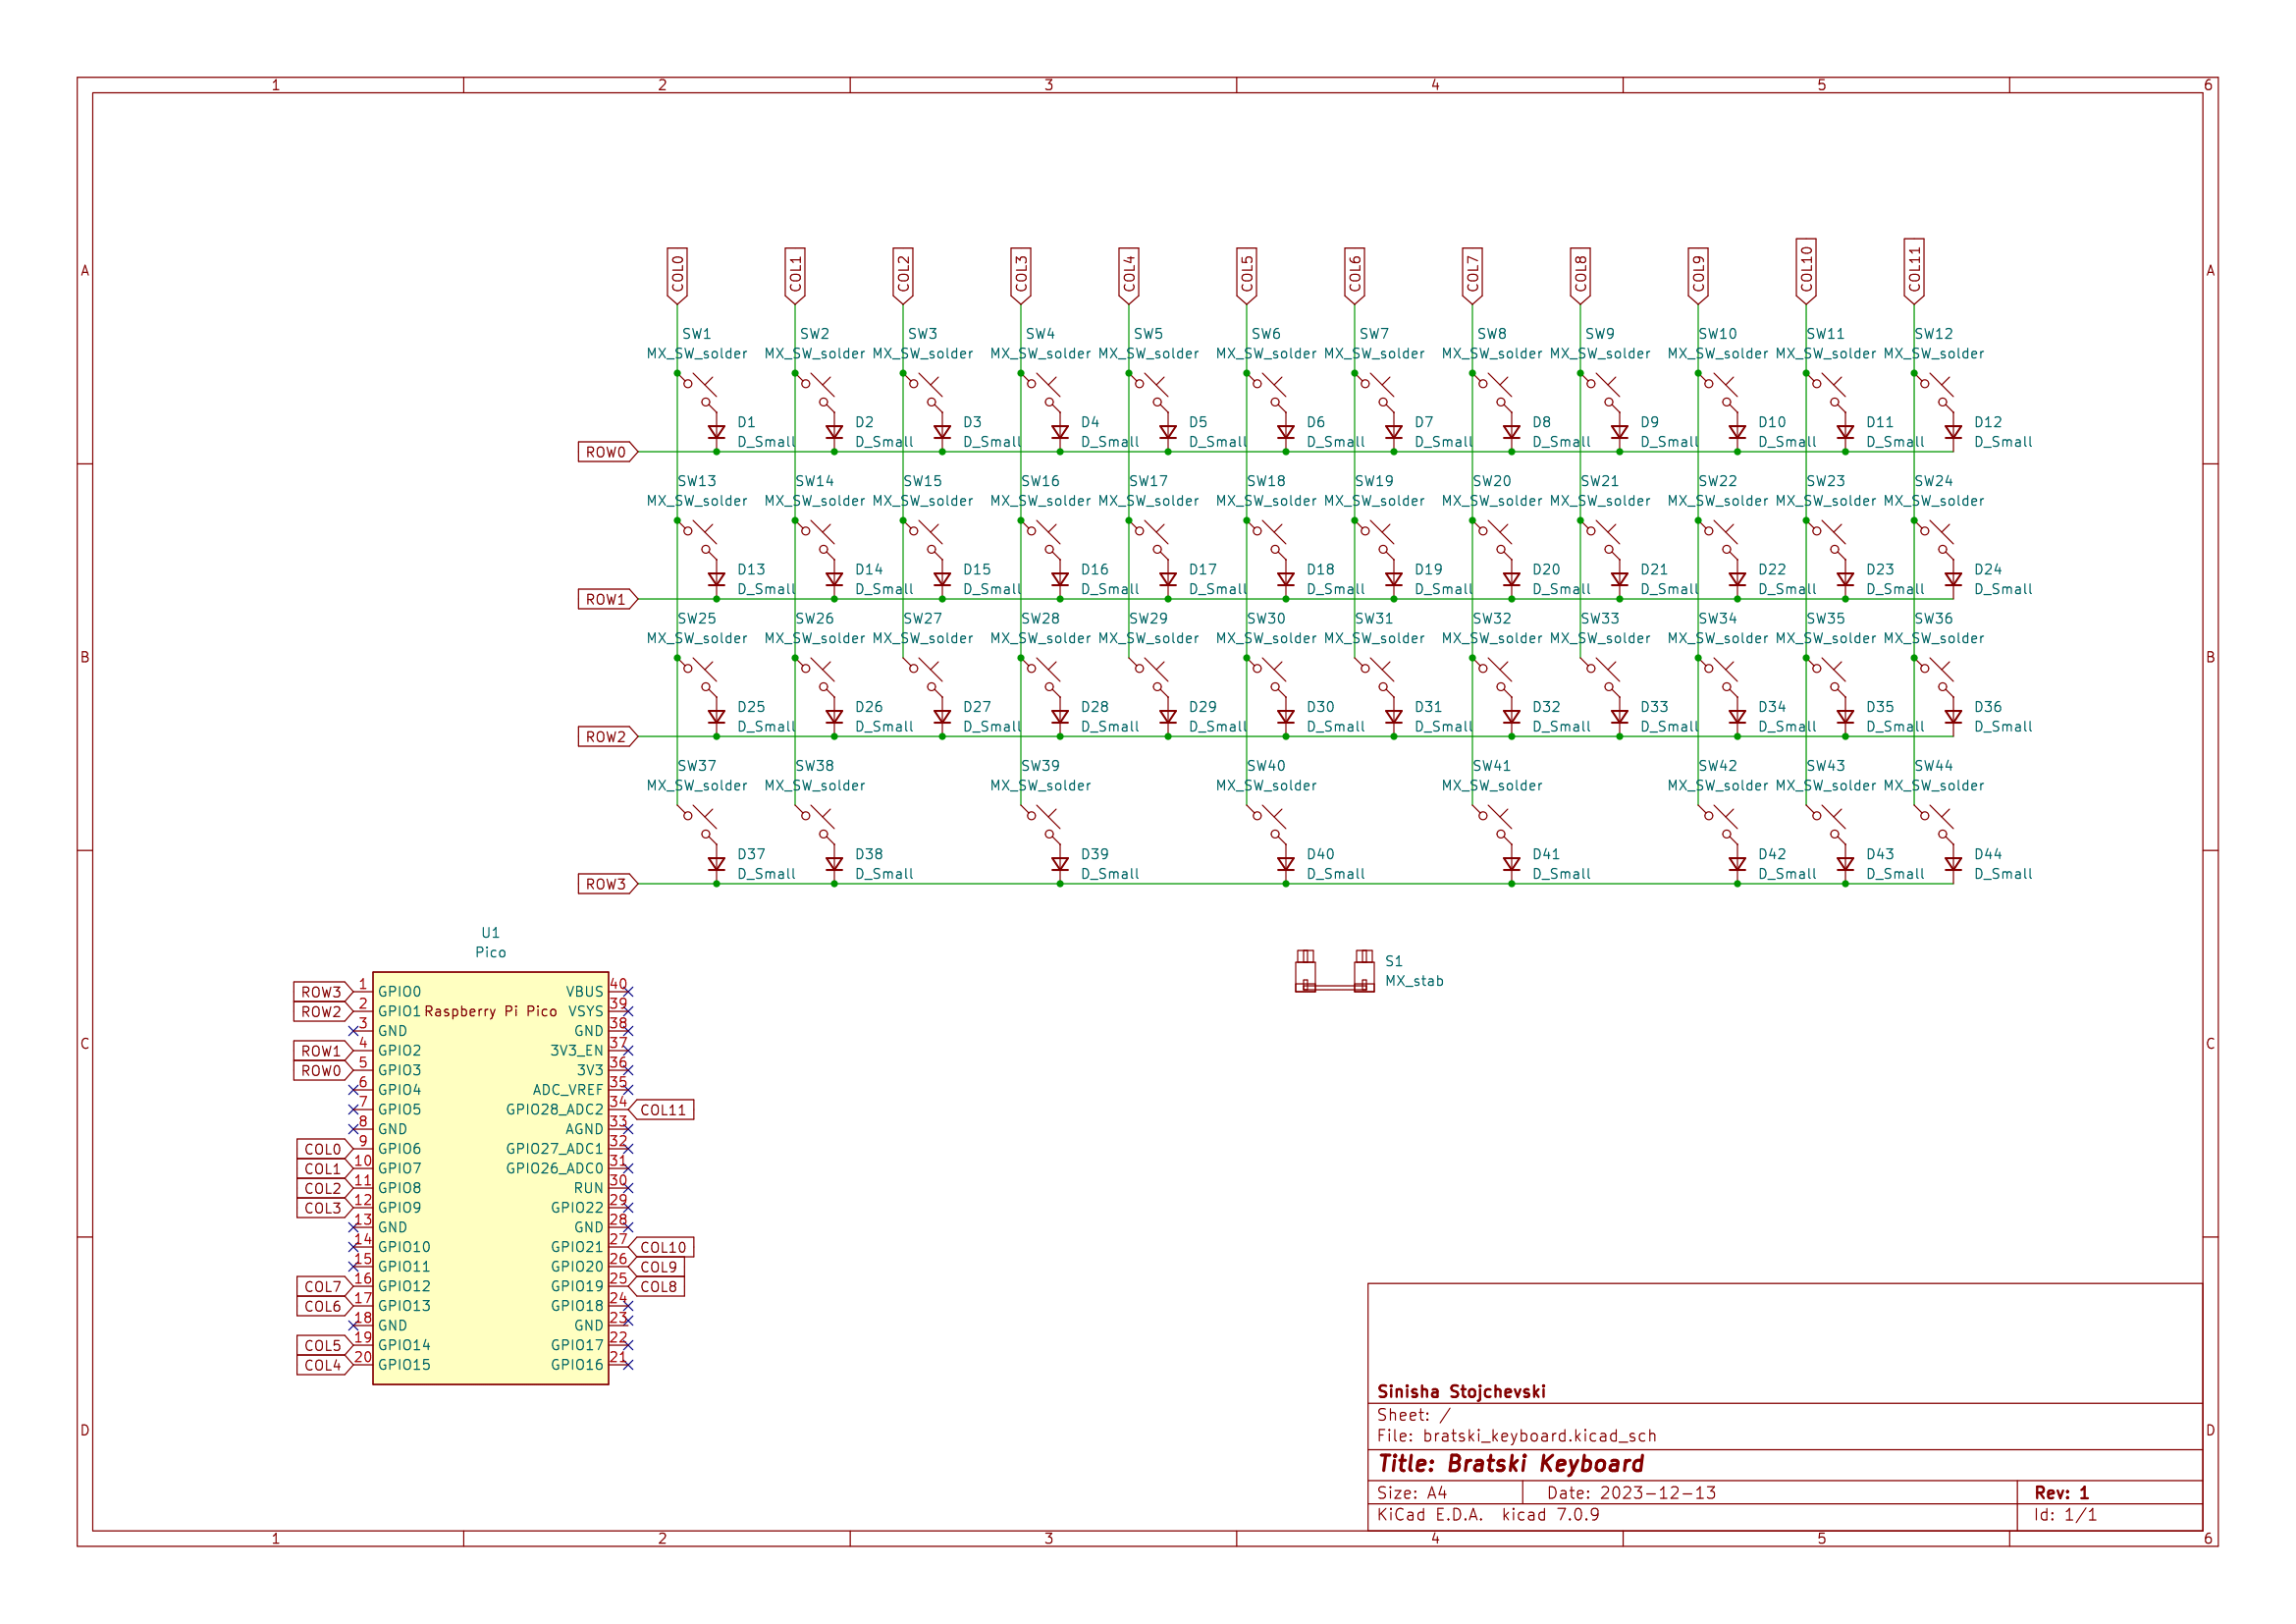
- 1N4148 diodes for ghosting prevention
- Direct GPIO routing from the Pico module
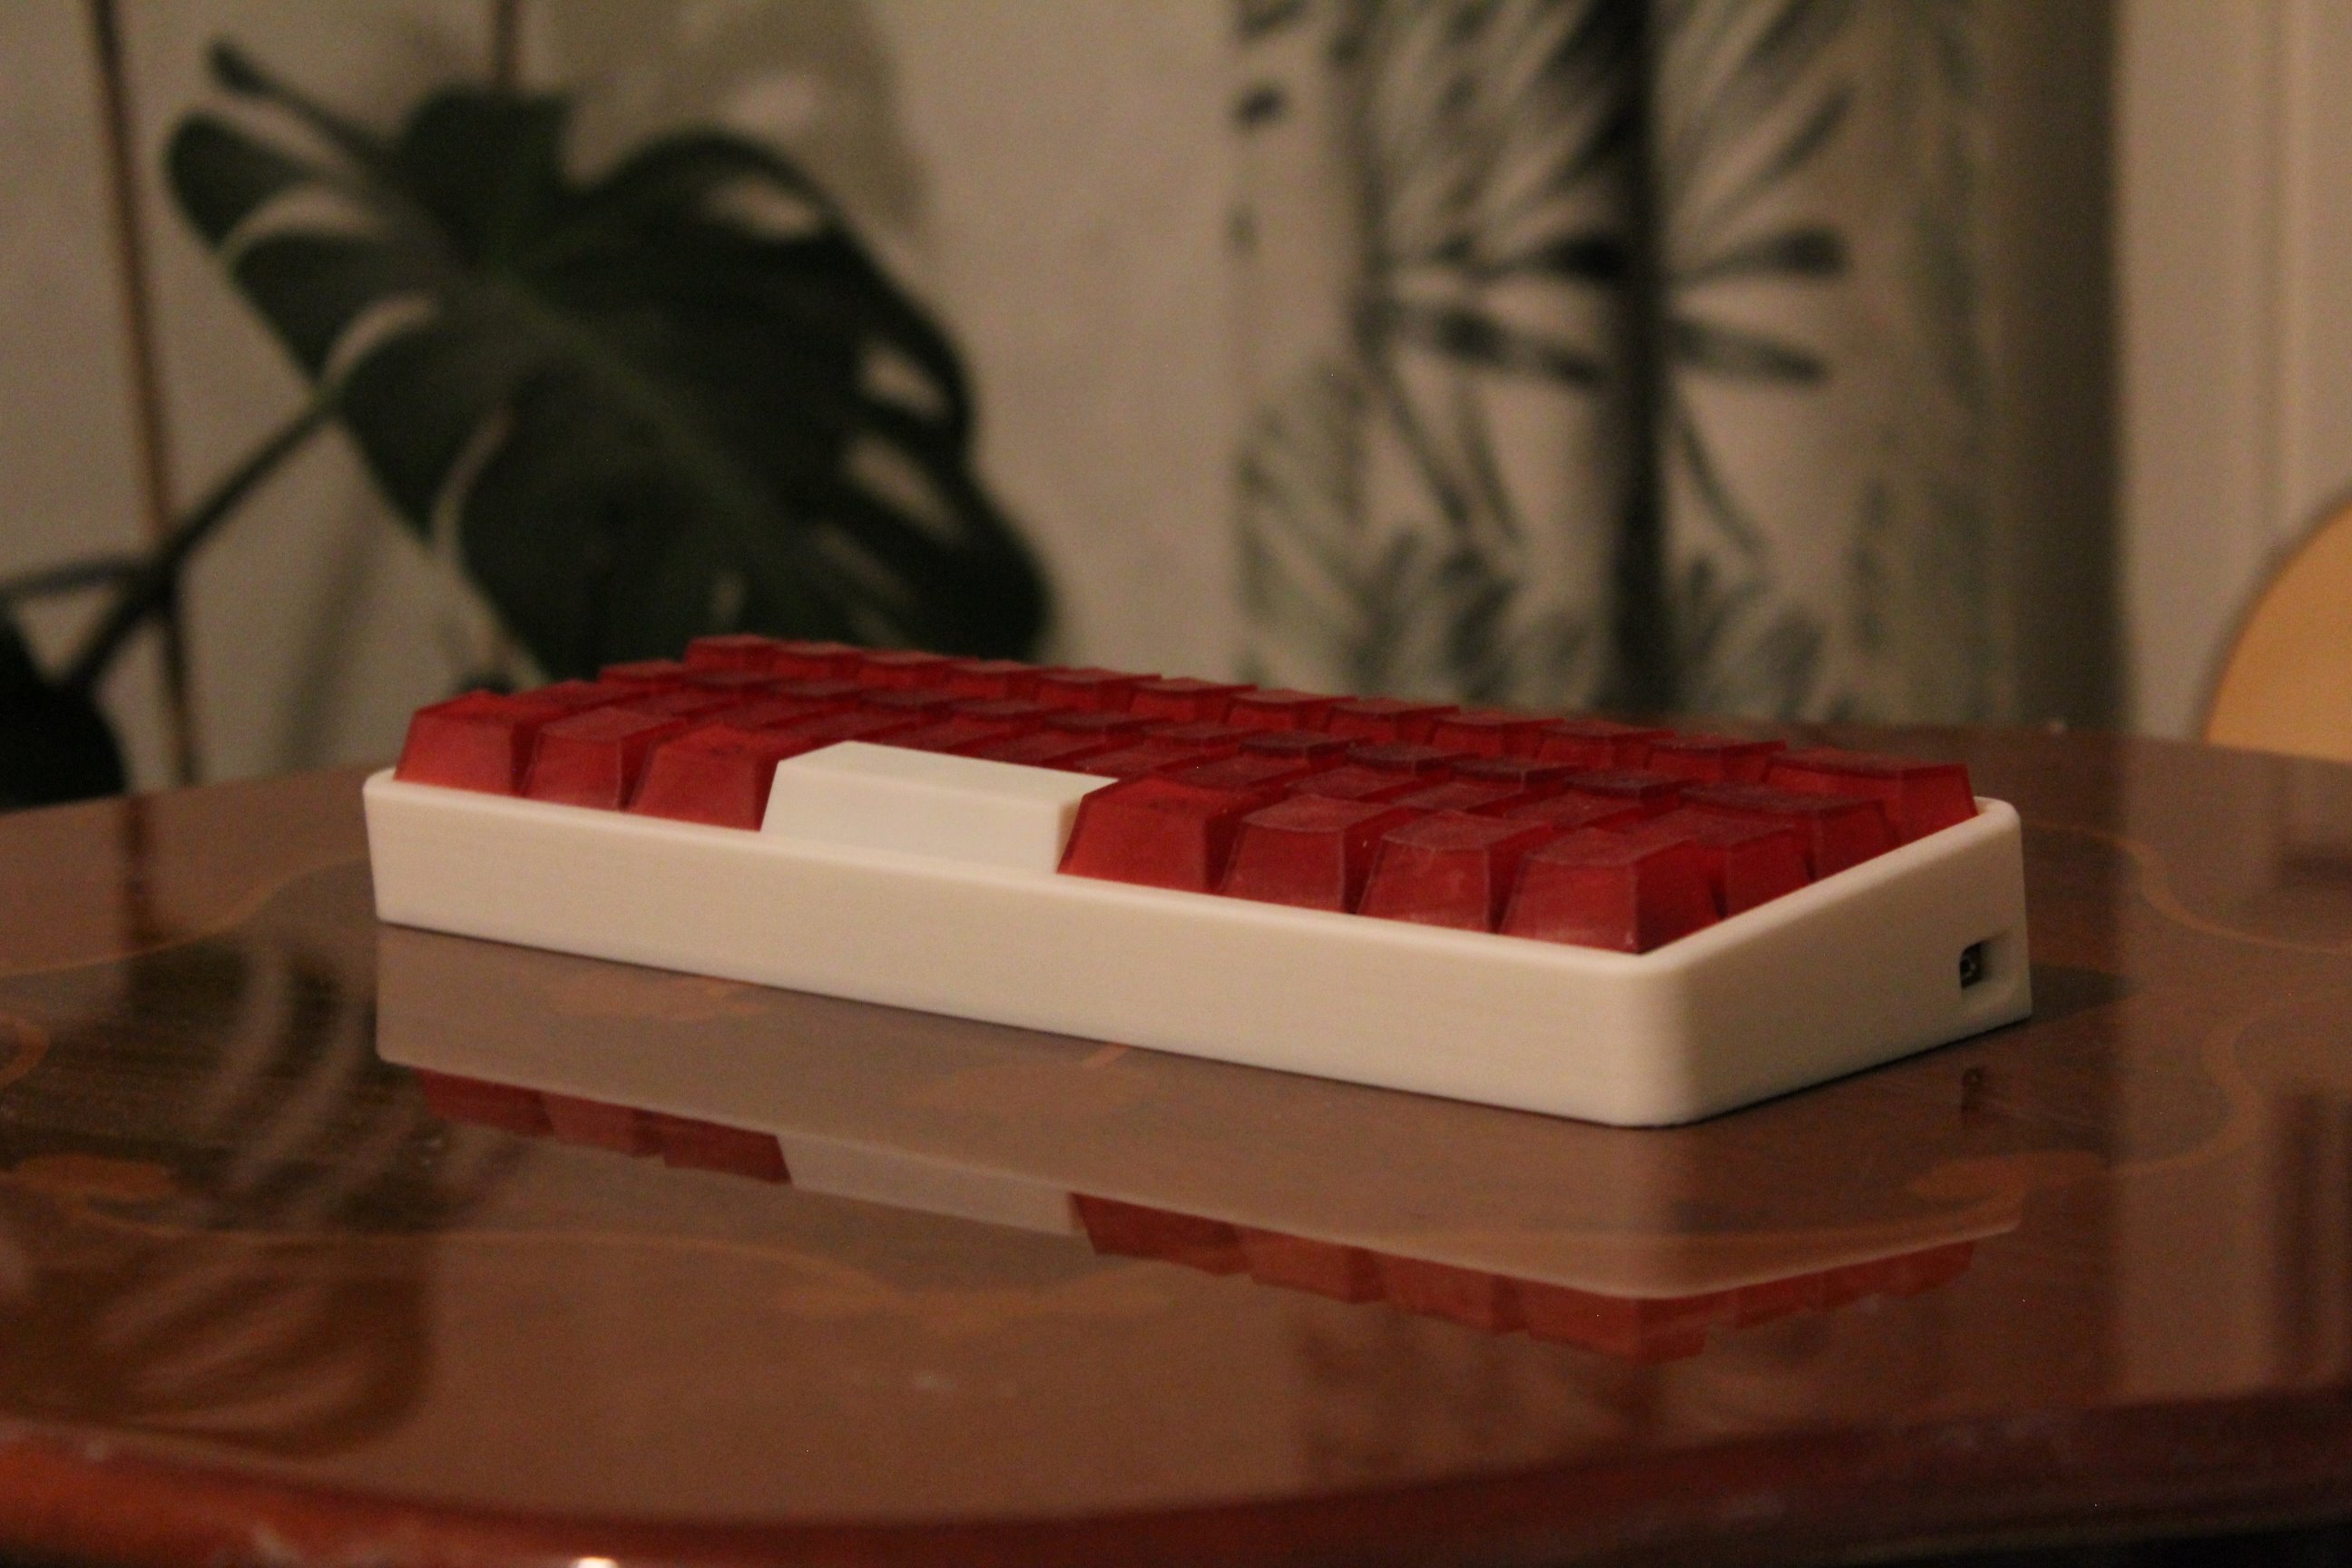
- Micro-USB connector (already becoming obsolete, but acceptable for a first project)
The PCB was designed as a 2-layer board, keeping routing simple and focused on learning correct schematic and layout practices rather than optimization.
Firmware integration
The keyboard uses KMK firmware, a Python-based keyboard firmware built on top of MicroPython.
Why KMK was chosen:
- Very easy initial setup
- Python-based configuration
- Low barrier to entry for first-time firmware work
While KMK lacks many advanced features compared to QMK, it was sufficient for this keyboard’s limited feature set and allowed me to focus on hardware correctness rather than firmware complexity.
Manufacturing and tooling
The PCB was designed in KiCad and manufactured using standard PCB fabrication services.
This project taught me:
- how to prepare Gerbers correctly
- how to verify footprints and symbols
- how small schematic mistakes translate into real hardware issues
- the importance of checking orientation, pin numbering, and clearances
Seeing a self-designed PCB arrive and function as intended was a major milestone.
Open-source project
Bratski Keyboard is a fully open-source project, both hardware and firmware.
- Schematics and PCB files created in KiCad
- Simple 2-layer board design
- Firmware configuration using KMK
The project is available on my GitHub profile for reference and learning purposes.
Conclusion
This project was a foundational learning experience in hardware design.
It provided hands-on exposure to:
- PCB schematic and layout fundamentals
- MCU module integration
- Keyboard matrix design
- Firmware–hardware interaction
- PCB manufacturing workflows
Most importantly, it gave me the confidence to continue designing more complex boards and eventually move toward fully custom microcontroller-based designs.
Bratski Keyboard represents the starting point of my transition from software experimentation to end-to-end hardware development.